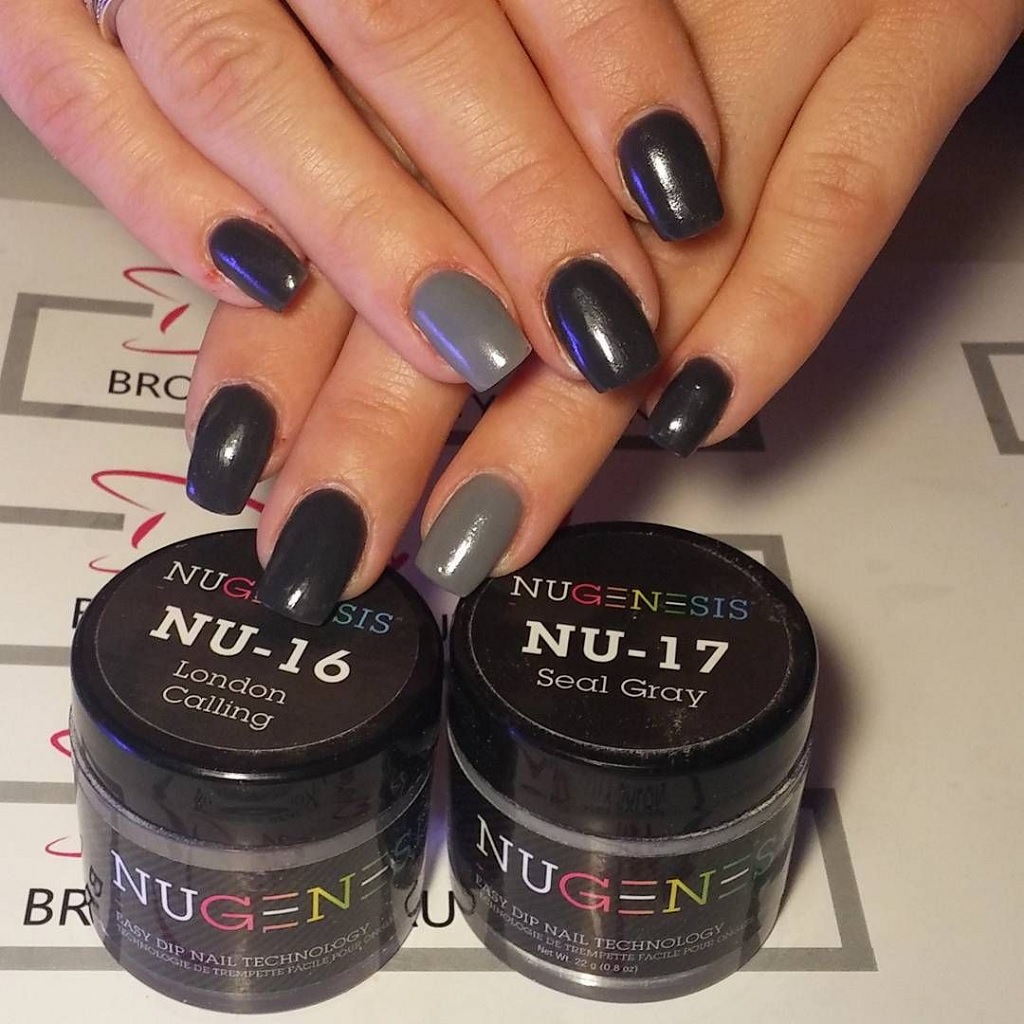
Nail extensions look great and make you appear a fashionista but only if you apply them right. You want them to look natural, but that takes a lot of work. One little mistake and all your efforts would have the opposite effect. You also need all the quality things like Nugenesis nail powder to ensure the best results. However, all these things would not make any difference if you don’t apply them properly.

How to Apply Nugenesis Dip Nail Extensions
Cleanse and Sanitize hands
Start by washing your hand thoroughly to make sure there is no dust and they are clean. It not only makes your hands germs-free but makes it easy to follow the next steps.
Push up Cuticles with Pusher
Just applying Nugenesis dip nail colors is not enough, you also have to make your natural nails as pretty as possible. Get a good quality pusher and take time to push up all cuticles before you proceed to the next step.
Remove and Shine Cuticles
After you have pushed up cuticles, the next step is to clean and shine them. You are going to need a fine burr diamond bit for this job. While you might have done this many times before, you shouldn’t hurry with this step. Next, grab a 180 grit file of your choice and start shaping the nails. Make sure the tips are cleanly cut and shaped so it’s easier to apply the acrylic tip.
Remove Additional Excess Dust
There will be some dust on your nail when you are done shaping them. Pick up a soft brush and remove any additional dust or it will come off with the Nugenesis nail powder later.
Apply Acrylic Tips
After you have built a good foundation, only then should you apply the acrylic tip. You can get any tips of your choice and cleanly attach them with nail glue. This is going to take the most time and require some expertise.
Shape and Level the Tips
Just like you cleaned and shaped the nails, now you have to cut the tips and shape them with a 180 grit file. After this, take a fine bit and level your natural nails with acrylic extensions. Don’t over polish them and keep a light hand. You can be creative here and shape them in any design you want. Depending on the look you are going for, plane round nails are simple and safe for every occasion.
Horizontally Apply a Strip of Base Gel
Even after the shaping and leveling, you will still feel the difference in the tips and the nails. To cover this gap, you should apply the first strip of base gel. This base will be applied horizontally right above the acrylic tip. You will add more layers later. Take the soft brush and remove any additional excess.
Vertically Apply Base Gel
Now you will need base gel # 2 to set the stage for Nugenesis dipping powder. This time you will apply the base vertically but only to 60% of the entire nail. Leave the lower side of the natural nails here. As soon as you apply the base on a nail, dip it in the powder. Keep a soft brush near as you will have to clean the additional excess again.
Use Thin Coat of Base Gel #2
Now you need to apply the base gel again, but this time it will be a thin coat. You will also apply it to more portions of the nail. Try to apply it on about 80% of each nail. This time again, dip the nail into the Nugenesis dip nail colors, and remove any excess with a brush.
Apply Activator #3 to All Nails
The last thing to apply that is just as important for perfect nails is an activator. You can use any activator of your choice to apply on all of your nails. Take time to let the Nugenesis nail powder settle in before you get to this step.
Refine Nails with Fine Bit
You are done with everything by this step and there isn’t necessarily a need for anything else. However, there is always room for improvement, so you should take use a fine bit to refine the nails again.
Conclusion
This was tried and tested method to apply Nugenesis dip nail extension with perfection. You can use different types of bases and activators according to your preference. Don’t try to rush anything if you are doing this for the first time. The last coat of activator covers anything that you might have missed any previous steps. Make sure you are extra careful when applying the activator. Keep in mind that no one is going to analyze your nails up close unless you are doing it professionally. So, don’t fret over the smallest details that don’t matter.
